Hello guys! This is my first making of. I Hope you appreciate it. I wrote about everything that I consider essential for a realtime workflow. I already used unity 5, with its new features (for example "global illumination" and material based on pshysically shading). The software utilized are maya, zbrush, photoshop and unity 5.
Let me know what do you think about it!

1. Reference research are one of the most underrated thing. For me, it's an important step. You can start to realize what style, object and quality you want to create. You can easily create a leather effect if you have in front of you images of pattern leather and so on... I usually use pinterest for my research (if you want, you can find me on pinterest as "marioprivi")!

2.Once you get a better idea, you can pass to sketch something. In some cases, I draw all the concept, sometimes I draw solely bases form and write what I want to obtain in a note.

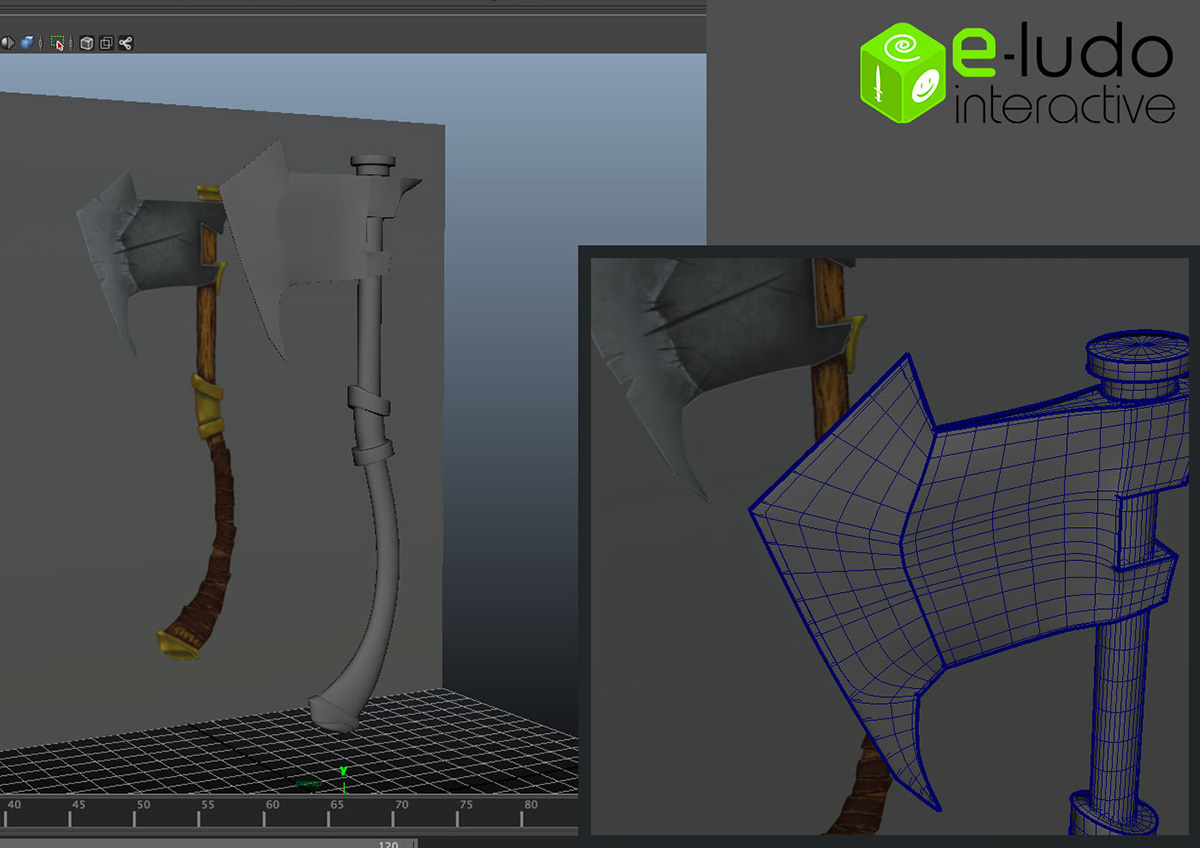
3. As you can see in figure 3, I start to create a mesh in order to export this in zbrush... Use crease edge recognized by the software, in order to have a less smooth mesh, after "divide" the object. For the moment, I don't care about UV.
4. On zbrush, use "extract" for create rolled leather strip. Start to sculpt the wood and metals...
Obviously, always take a look at references. After this process, use decimatore master for re-import everything on maya.
Obviously, always take a look at references. After this process, use decimatore master for re-import everything on maya.

5. Now I start to create a decent mesh, with the retopology, as you can see in figure 5. I mainly used maya 2015's "quad drow" that consider very useful. I set decimate mesh as reference, click on "snap" on the mesh. After this, I start to draw the new topology, up to this.

6. Now I can pass to the UV. This topology will be definitive. Sooner than pass at the transfer of the maps, select every edge and set up them to "soften edge", except for the edge that in the UV coincides with seams. In this way, the extract map will identify these side as harden and became smooth on the map, so you can't see the cut on the final version. (Remember to set up in the transfer map option, "Closest to Envelope")

7. I use transfer maps for extract the normal map and ambient occlusion map.

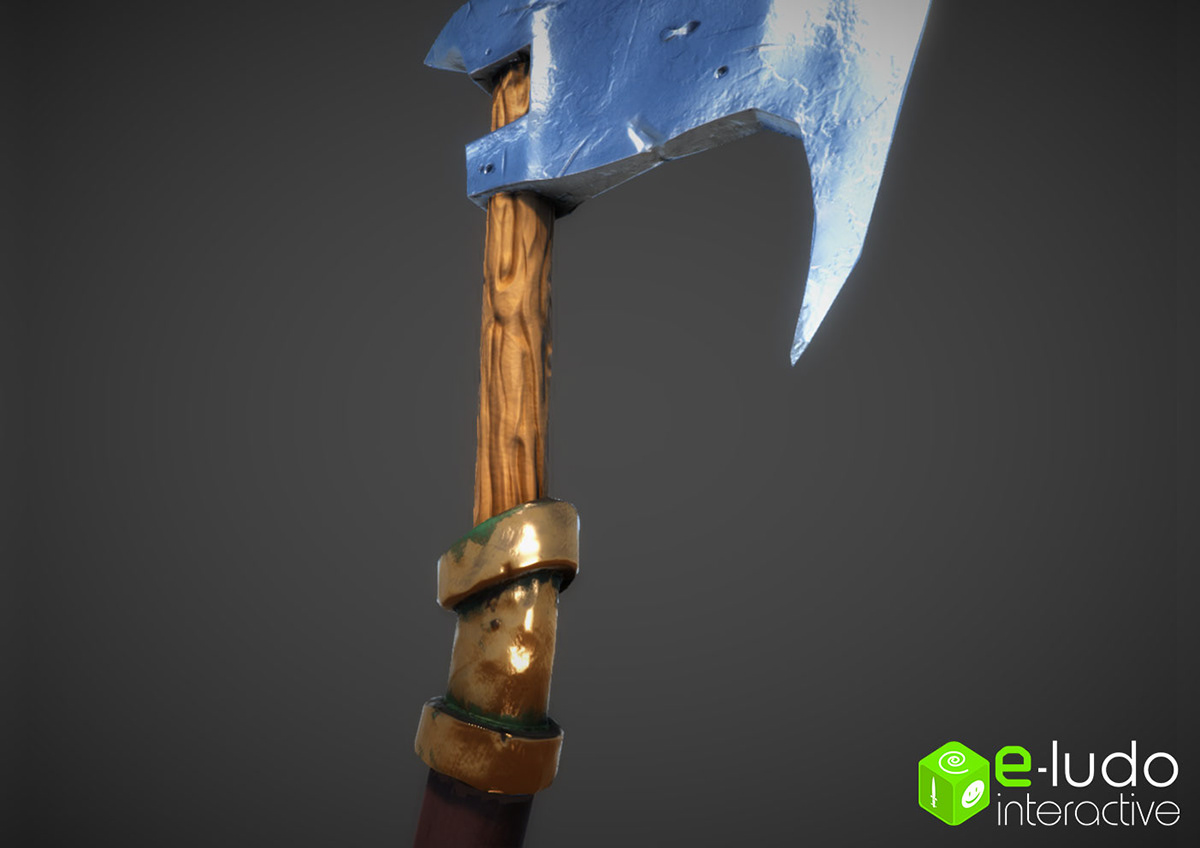
8. I create the texture for the standard material (preset specular). I always help myself with official images of unity 5 that explain PBS solutions. I take references and do different tests. Create a Gloss map to insert in the Alpha channel of the specular map. Apart from this, I create an albedo map (without lights and shadows, only colour) and insert the maps created before, in the part 7, in the appropriate channel of the material (AO and normal).